How I Restored My Chanel Classic Flap and Saved £100s (But Almost Ruined It!)

Photocredit: Shutterstock
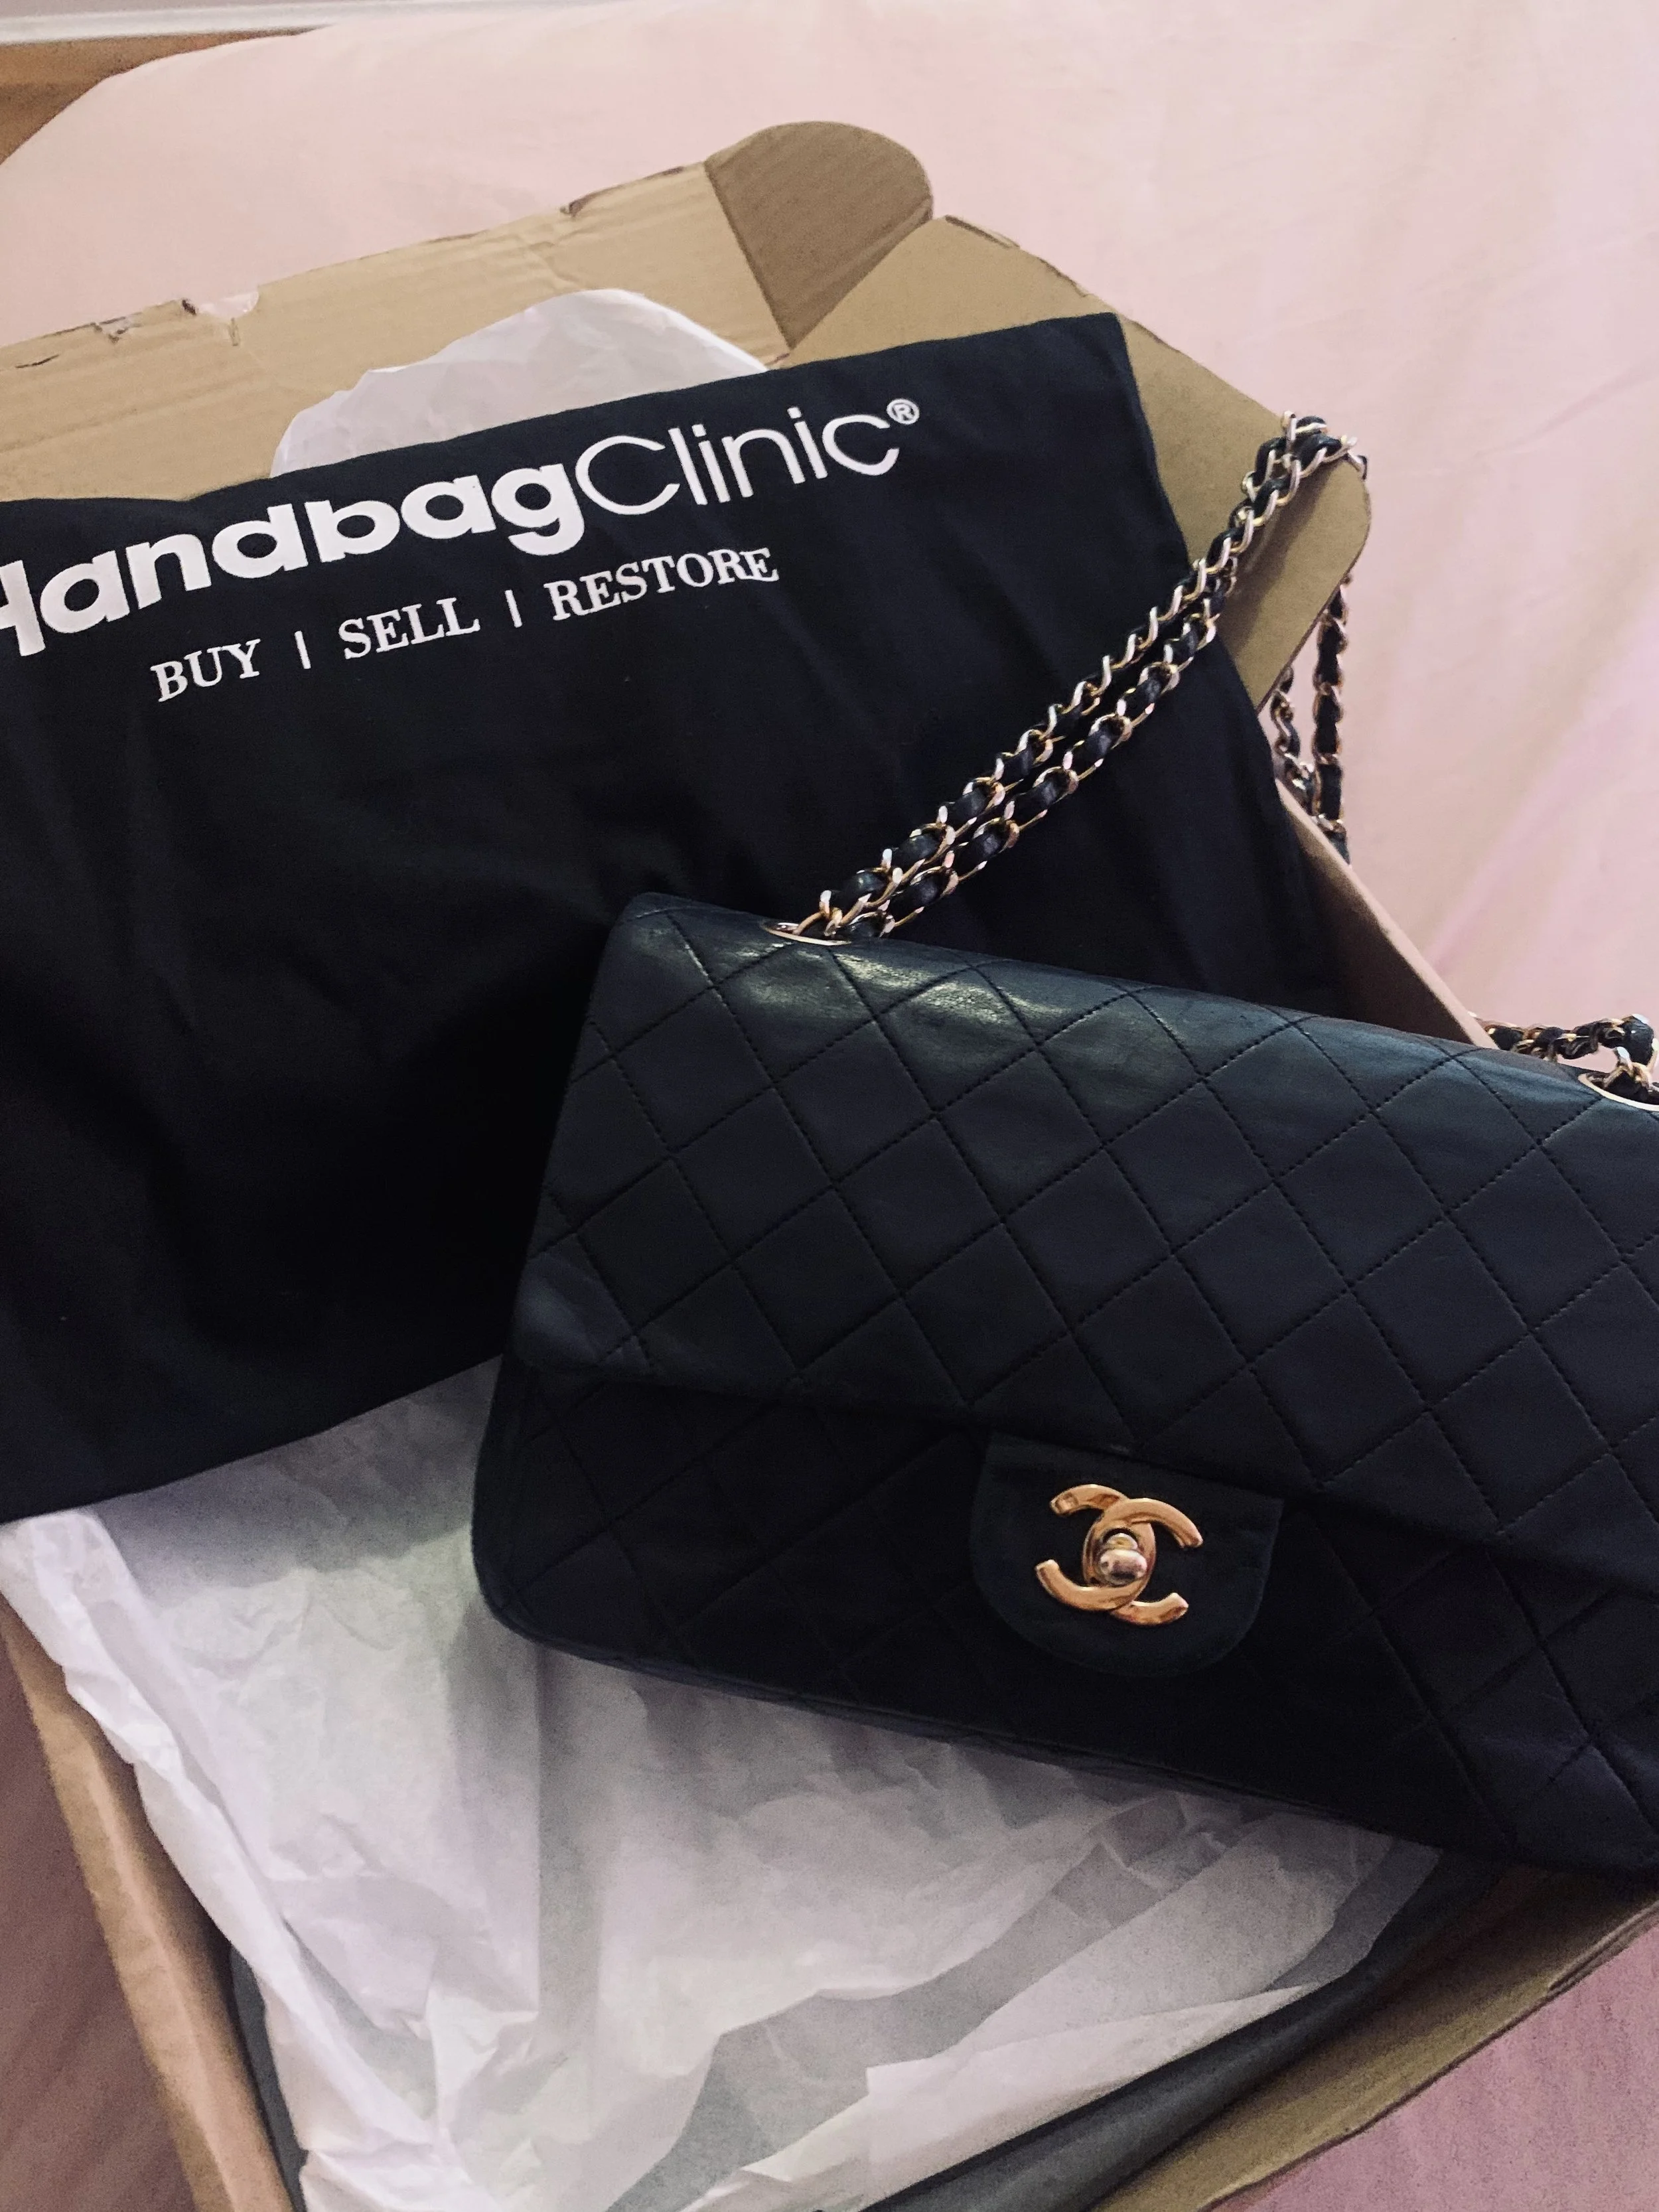
In 2018, I treated myself to something I’d dreamed of owning for years: a fabulous Chanel Classic Medium Flap in Lambskin, bought preloved from The Handbag Clinic. She’s a true classic, an absolute beauty, and my pride and joy.
Read my review here and How to Spot a Fake Vintage Chanel here.
Here’s the joy: she’s MY AGE! Yes, my Chanel Flap is from 1989-90, making her a glorious 34 years old (and definitely aging better than me). But, as with anything in their 30s, she isn’t perfect. There was some creasing on the front, and the leather had faded quite a bit.
I decided she needed a little refresh, a bit of TLC to bring her back to her full glory. A professional quote for recolouring? £300. No, thank you. I suspected that price might be closer to £500 now in 2025. So, I thought, "How hard can it be?" and decided to do it myself. Spoiler alert: I saved hundreds, but I also made a mistake that could have been catastrophic. Here’s how it all went down.
Step-by-Step: My DIY Chanel Restoration Journey

Angelus Products I used
Step 1: Prepping the Bag

The first step in any restoration is prepping the leather. After extensive research (hello, Google, Youtube, Reddit, Blogs rabbit hole), I discovered that the pros use Angelus Leather Preparer and Deglazer, which I snagged on Amazon for £8.65.
Now, this is where I made my first small error: I used a foam-headed brush, and honestly, it was rubbish. If I could go back, I’d use a flat headed cotton bud and only lightly dip it into the solution. The key here is gently brushing the leather to prep and clean it, but avoid saturation and soaking the leather. A light touch is everything.
Once prepped, I let the bag dry for 24 hours.
Step 2: Painting the Bag

For the main event, I used Angelus FLAT Black Paint (emphasis on FLAT, which cost me £7.75). If you use regular black paint, it’ll be way too shiny and completely ruin the look of your bag. Trust me, you don’t want that.
I applied two THIN coats, allowing each layer to dry for 24 hours. At this stage, I was feeling pretty confident. The colour looked rich and even, and I could already see my tired corners and edges coming back to life.
Step 3: Disaster Strikes

Now for the mistake that nearly destroyed my beloved bag: the finish. To seal the paint and protect the leather, you need to use Angelus Matte Acrylic Finisher (£17.95). However, I applied it completely wrong.
The videos I watched made it look so easy, but I applied two very thick coats. The result? My once-beautiful Chanel Flap now looked so shiny it could pass for a counterfeit. I was devastated. I actually cried.

Step 4: The Rescue
Enter my saviour: a professional doll restorer I was working with on a TV series at the time. I explained my blunder, and she gave me the solution that saved the day.
The trick? Use an airbrush to apply the finisher. By putting a small amount of the Matte Acrylic Finisher into the airbrush and spraying light, even coats, I was able to tone down the shine and restore the bag to its intended finish. It was a game-changer! She told me even with the lightest touch of a paintbrush will always apply too much finisher. You have to use an airbrush.
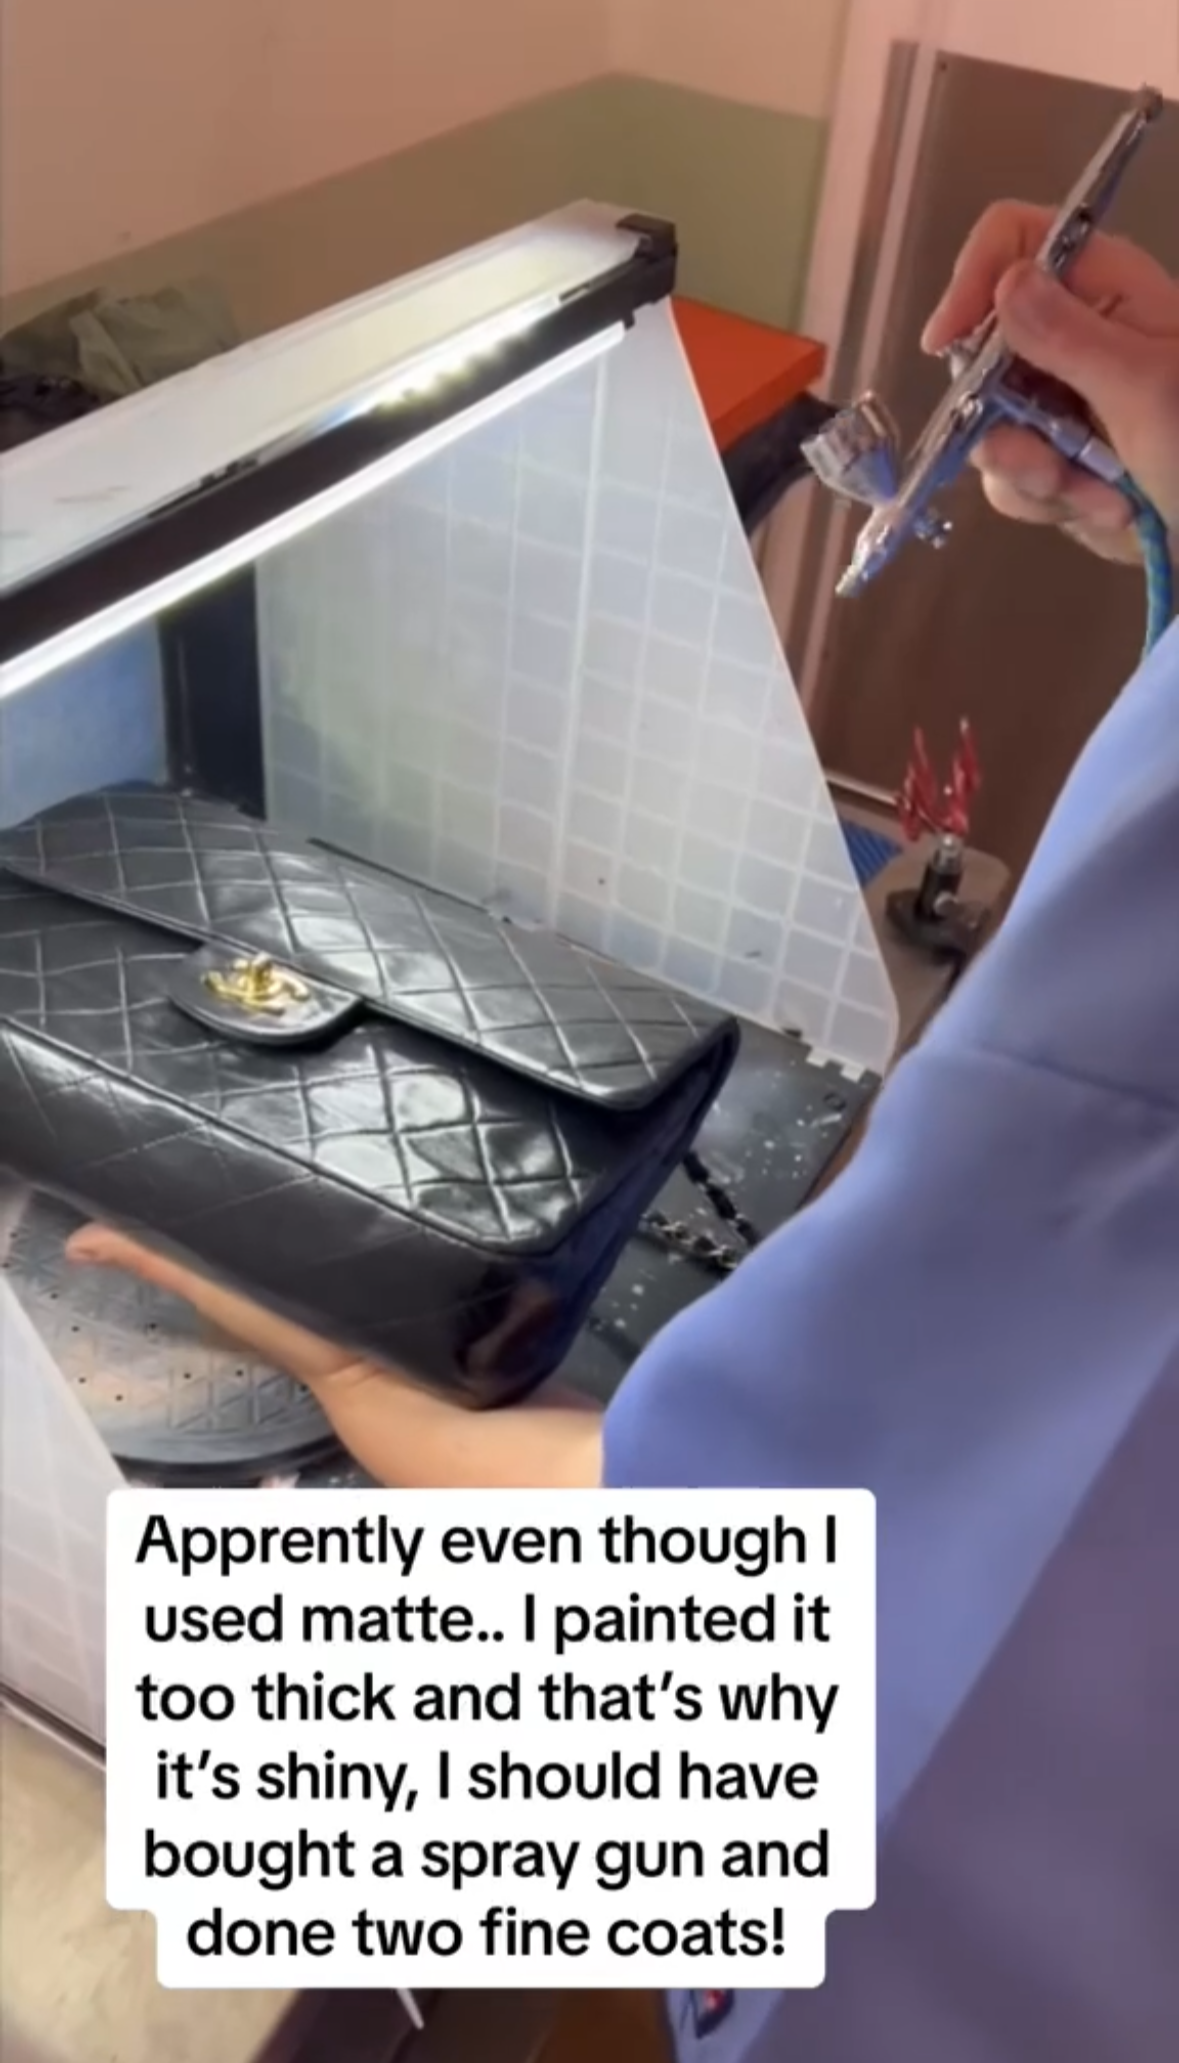
Yes, I spelt apparently wrong.
The Final Result
In the end, I was pretty happy with the outcome. The bag looks refreshed, with the tired corners and edges treated, but it still has that vintage charm I love. It’s not a dramatic transformation, but it was exactly what I wanted: a little spruce-up to keep her looking her best.

Lessons Learned
Would I do this again? Honestly, yes. I saved myself hundreds of pounds and learnt leather maintenance along the way. That said, this process isn’t for everyone, and I wouldn’t recommend trying it unless you’re willing to take the risk.
Here are my key takeaways:
Using the right tools is a must: Skip the cheap foam brushes and invest in better application tools, like cotton buds and an airbrush for the finisher.
Go slow and take your time: Very thin, even layers are your best friend.
Stick to black: This method works well on black lambskin, but I wouldn’t risk it with other colours or leather types.
My Disclaimer
Let me be very clear: I’m not a professional, and I don’t work in the leather restoration industry. I’m just someone who loves her Chanel Flap and took a gamble to save some money. If you’re thinking of doing this at home, proceed with extreme caution—and don’t blame me if something goes wrong!
Have you ever tried a DIY restoration on a luxury bag? I’d love to hear your stories (or commiserate over your disasters). Let me know in the comments!